
Contaminant Comparison Chart

For a complete list of contaminants that PUR filters reduce, please view our Performance Data Sheets here.


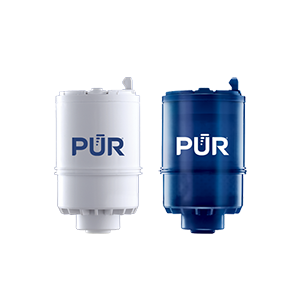
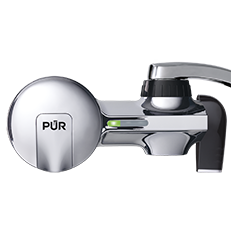
PUR & PUR PLUS FAUCET FILTERS
RF3375/RF9999

View Filters

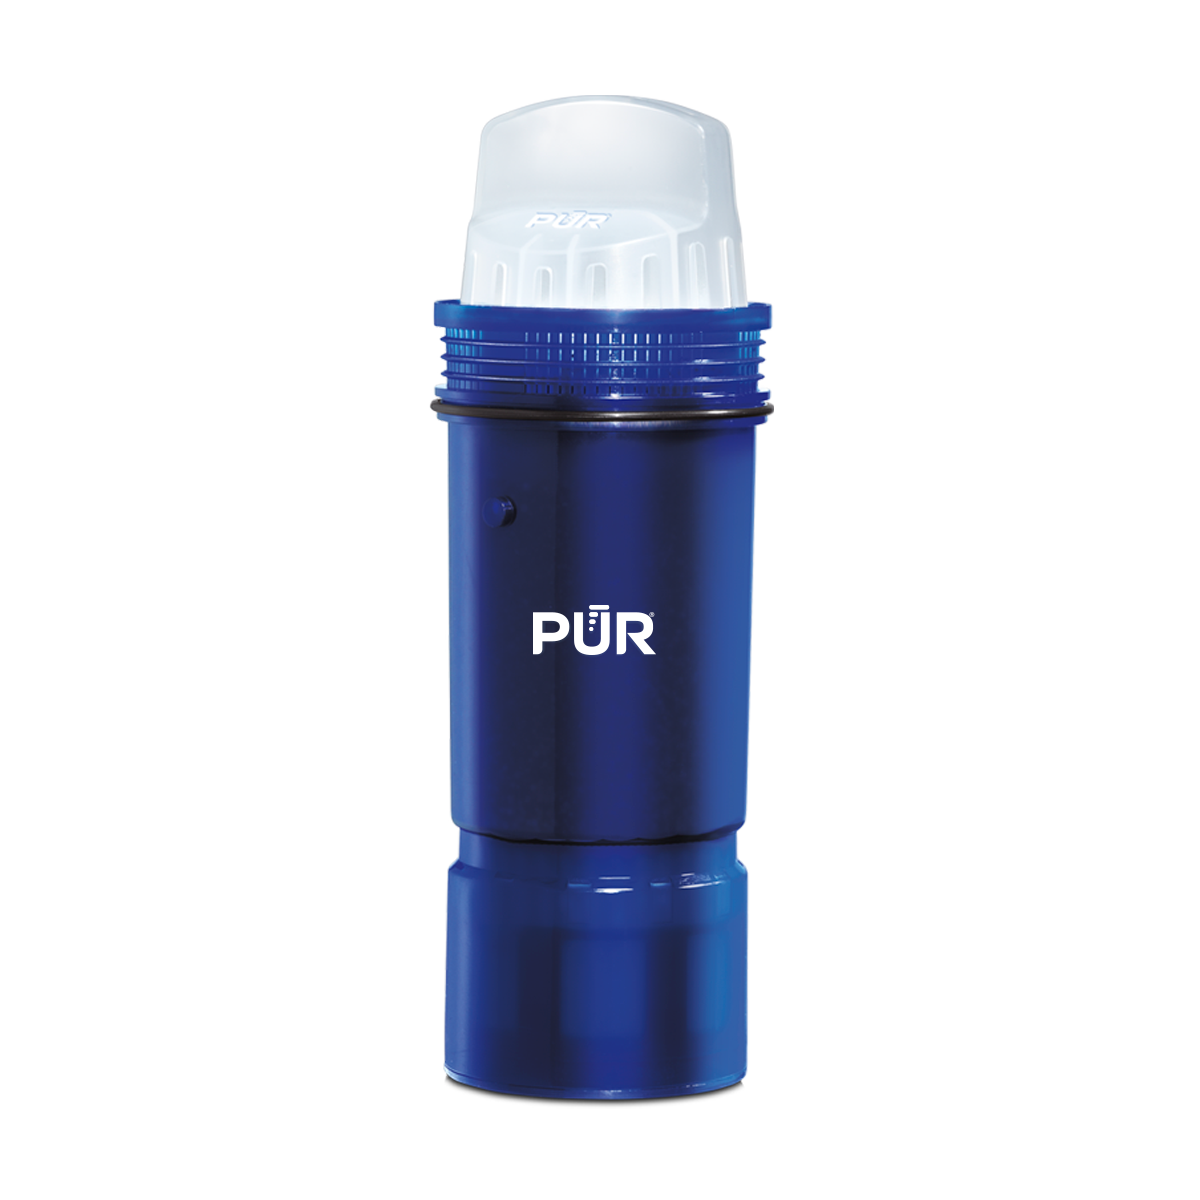
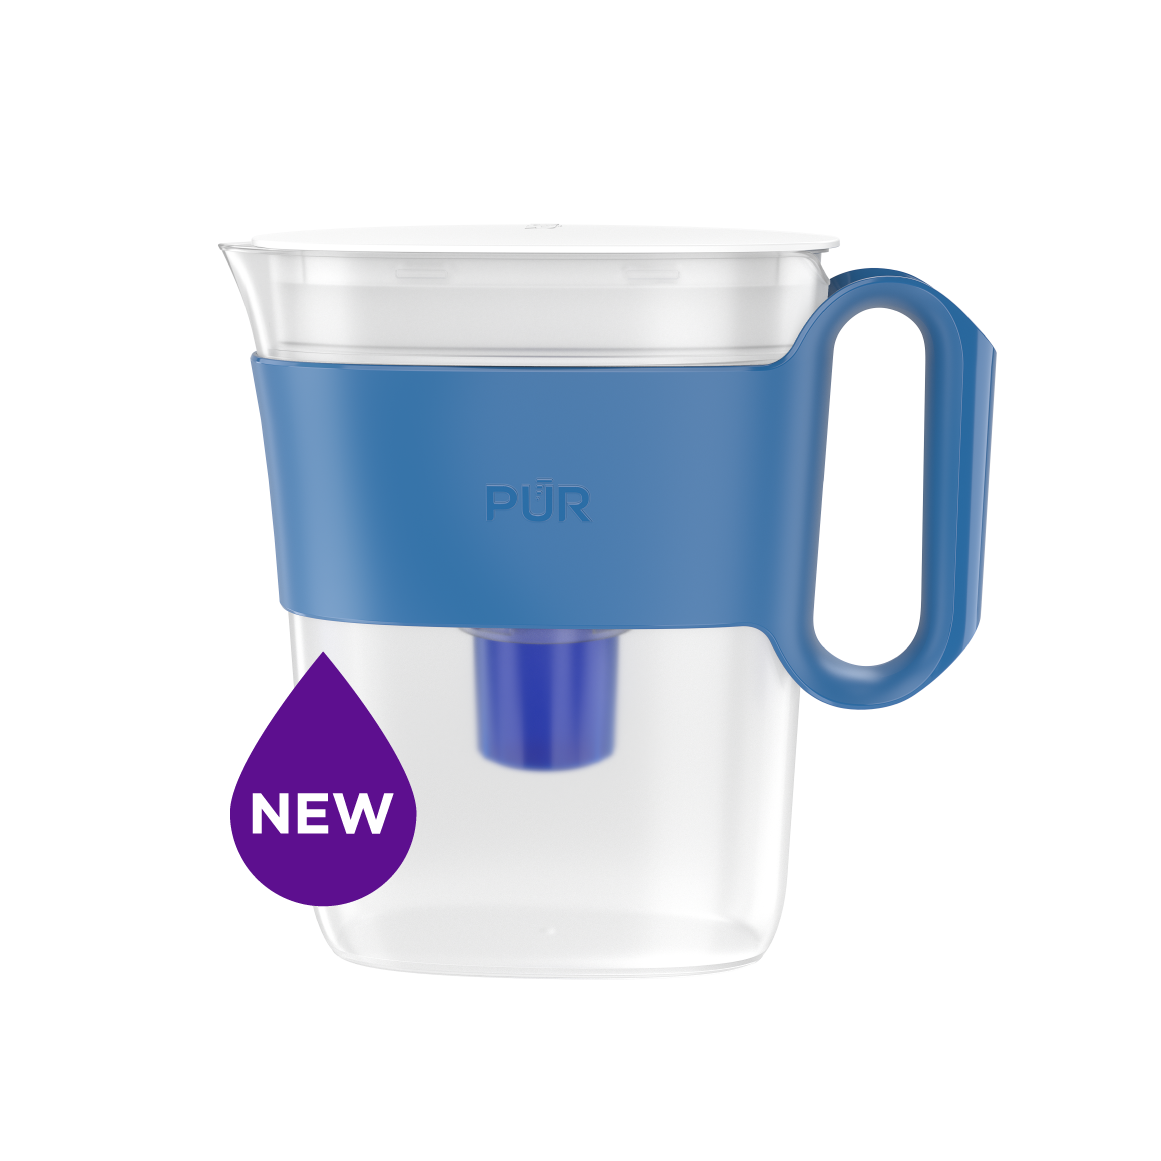
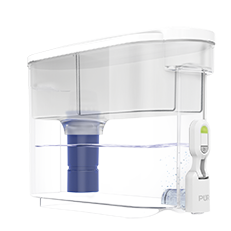
PUR PLUS PITCHER FILTERS
PPF951K

View Filter

PUR BASIC PITCHER FILTERS
PPF900Z

View Filter


Vs. Brita*

Lead
Microplastics
Mercury
Chlorine Taste & Odor
DEET
TTHM

PUR’s Filtration Systems Are Certified By NSF And WQA For Their Contamination Reduction. WQA certifications as of 5/27/21 for Faucet filter models RF-3375 and RF-9999.

¹ Certified to reduce 10X more chemical and physical substances than Brita’s® leading pitcher filter.
² Certified to reduce 3X more chemical and physical substances than Brita’s® leading pitcher filter.
³ Certified to reduce 2X more chemical and physical substances than Brita’s® leading pitcher filter.
*Versus best-selling Brita® pitcher filter OB03. Brita® is a trademark of Brita LP.
**Like other leading brands, PUR does not filter microbes. As of 3/1/23 Brita® and ZeroWater® were not certified to filter microbes. Brita® is a trademark of Brita LP. ZeroWater® is a trademark of Zero Technologies, LLC..
 

PUR & PUR PLUS FAUCET FILTERS


PUR & PUR PLUS FAUCET FILTERS
RF3375/RF9999

View Filters


Vs. Brita*

Lead
Microplastics
Mercury
Chlorine Taste & Odor
DEET
TTHM

PUR’s Filtration Systems Are Certified By NSF And WQA For Their Contamination Reduction. WQA certifications as of 5/27/21 for Faucet filter models RF-3375 and RF-9999.

¹ Certified to reduce 10X more chemical and physical substances than Brita’s® leading pitcher filter.
² Certified to reduce 3X more chemical and physical substances than Brita’s® leading pitcher filter.
³ Certified to reduce 2X more chemical and physical substances than Brita’s® leading pitcher filter.
*Versus best-selling Brita® pitcher filter OB03. Brita® is a trademark of Brita LP.
**Like other leading brands, PUR does not filter microbes. As of 3/1/23 Brita® and ZeroWater® were not certified to filter microbes. Brita® is a trademark of Brita LP. ZeroWater® is a trademark of Zero Technologies, LLC..


PUR PLUS PITCHER FILTERS


PUR PLUS PITCHER FILTERS
PPF951K

View Filter


Vs. Brita*

Lead
Microplastics
Mercury
Chlorine Taste & Odor
DEET
TTHM

PUR’s Filtration Systems Are Certified By NSF And WQA For Their Contamination Reduction. WQA certifications as of 5/27/21 for Faucet filter models RF-3375 and RF-9999.

¹ Certified to reduce 10X more chemical and physical substances than Brita’s® leading pitcher filter.
² Certified to reduce 3X more chemical and physical substances than Brita’s® leading pitcher filter.
³ Certified to reduce 2X more chemical and physical substances than Brita’s® leading pitcher filter.
*Versus best-selling Brita® pitcher filter OB03. Brita® is a trademark of Brita LP.
**Like other leading brands, PUR does not filter microbes. As of 3/1/23 Brita® and ZeroWater® were not certified to filter microbes. Brita® is a trademark of Brita LP. ZeroWater® is a trademark of Zero Technologies, LLC..


PUR BASIC PITCHER FILTERS


PUR BASIC PITCHER FILTERS
PPF900Z

View Filter


Vs. Brita*

Lead
Microplastics
Mercury
Chlorine Taste & Odor
DEET
TTHM

PUR’s Filtration Systems Are Certified By NSF And WQA For Their Contamination Reduction. WQA certifications as of 5/27/21 for Faucet filter models RF-3375 and RF-9999.

¹ Certified to reduce 10X more chemical and physical substances than Brita’s® leading pitcher filter.
² Certified to reduce 3X more chemical and physical substances than Brita’s® leading pitcher filter.
³ Certified to reduce 2X more chemical and physical substances than Brita’s® leading pitcher filter.
*Versus best-selling Brita® pitcher filter OB03. Brita® is a trademark of Brita LP.
**Like other leading brands, PUR does not filter microbes. As of 3/1/23 Brita® and ZeroWater® were not certified to filter microbes. Brita® is a trademark of Brita LP. ZeroWater® is a trademark of Zero Technologies, LLC..


What Is an Electrical Plug Lockout and How Does It Work?

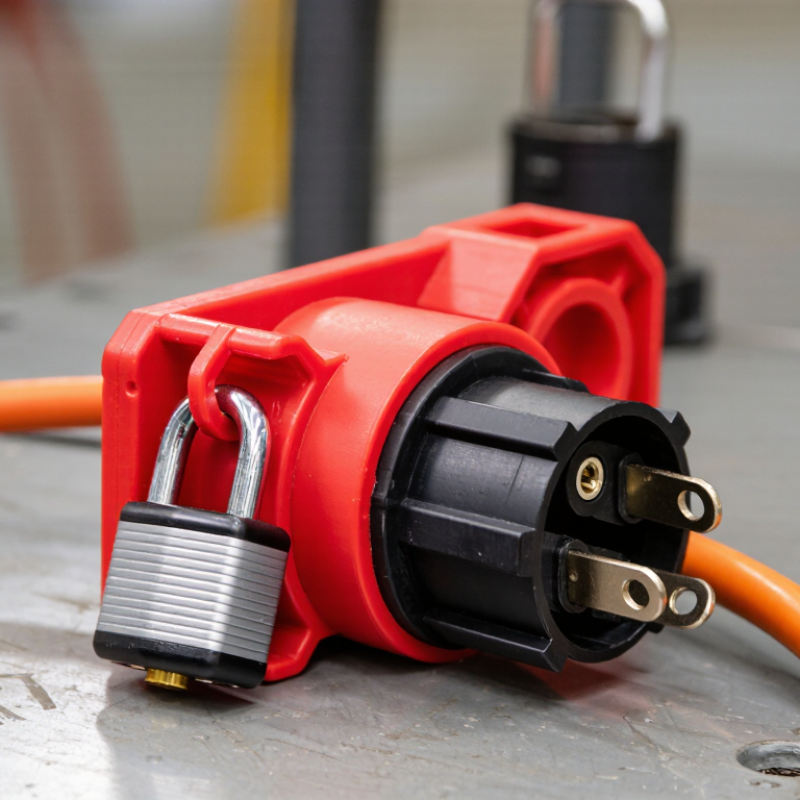
Electrical Plug Lockout devices help prevent equipment from being energized during maintenance, cleaning, or repair. A typical unit fits over an unplugged electrical plug and closes around its body. A worker then secures it with a personal padlock, making the plug difficult to reconnect to an outlet. The locked cover is visible. That matters when several people share a work area or a machine is being serviced away from its usual station.

Designs vary. Some accommodate common plug shapes, while others fit only specific sizes or cord arrangements. Before use, workers should check that the device fits the plug, cannot be removed without the lock, and does not leave the plug accessible. Clear identification can also help coworkers understand why the equipment must remain disconnected. Small details count, such as a loose cover or a cord that can still be pulled through an opening.

An Electrical Plug Lockout is one part of a broader energy-control process, not a substitute for careful preparation. Qualified workers should follow the equipment manufacturer’s instructions and their workplace procedures. They should also confirm that the machine cannot start before beginning work; unplugging alone may not address stored energy or other power sources. There is no single device for every plug. Choosing the wrong fit can create false confidence, and that is worth checking twice. This guide explains how plug lockouts work, what features to inspect, and where their limits matter.

What Is an Electrical Plug Lockout and How Does It Work?

What Is an Electrical Plug Lockout?

An electrical plug lockout is a physical device that secures an unplugged cord end so it cannot be reconnected to a power outlet. The enclosure fits around the plug, then accepts a padlock or other locking mechanism. With the plug trapped inside, workers can see that the equipment should remain disconnected during servicing or cleaning. It is a straightforward barrier. But it only works when the device fits the plug and is properly secured.

Plug lockouts are one part of lockout/tagout, not proof that equipment is safe to touch. A qualified worker should isolate the energy source, unplug the equipment, apply the lockout, and verify that power is off before work begins. OSHA’s lockout/tagout guidance estimates that effective energy-control procedures protect nearly three million workers and prevent about 120 fatalities and 50,000 injuries each year. The figures cover hazardous-energy control broadly, not plug lockouts alone. That distinction matters. A bulky plug, damaged cord, or nearby second power source can complicate the task. Check the fit, identify every energy source, and follow the site’s procedure; small oversights can leave equipment energized.

Why Electrical Plug Lockout Is Used

Why Electrical Plug Lockout Is Used

Electrical plug lockout helps prevent a machine from starting while someone cleans, repairs, or adjusts it. Pulling out the plug is a useful first step, but it may not be enough. A coworker could reconnect it, especially when several people share a work area. A fitted lockout cover encloses the plug and holds it away from the outlet. A personal padlock then keeps the cover secured until the worker removes it. Simple, but important.

The risk is not theoretical. OSHA’s Control of Hazardous Energy guidance reports that effective lockout/tagout safeguards about three million workers and can prevent an estimated 120 fatalities and 50,000 injuries each year. Those figures cover hazardous-energy control broadly, not plug lockout alone. Still, they show why controlling unexpected startup matters. Think of a bench grinder with its cord dangling beside a busy aisle: a clear lockout device makes reconnection harder to miss and harder to do accidentally. Check that the device fits the plug, stays firmly attached, and cannot expose live contacts. Then verify the equipment cannot operate before work begins. That last check can feel repetitive. It is still worth doing.

What Is an Electrical Plug Lockout and How Does It Work? - Why Electrical Plug Lockout Is Used

Data Dimension Electrical Plug Lockout Information Safety Purpose
Definition A physical safety device that encloses an electrical plug or plug-and-cord connection so the plug cannot be inserted into a power source. Prevents unintended energization while equipment is being serviced, cleaned, adjusted, or repaired.
Primary Components

Main Components of a Plug Lockout Device

An electrical plug lockout is a temporary enclosure that prevents a plug from entering a power socket. It helps control hazardous energy during maintenance, cleaning, or equipment adjustment. The device does not remove electricity by itself. A trained worker must disconnect the plug and verify that the equipment is de-energized.

The main component is the rigid lockout body. It surrounds the plug and limits access to its blades or connection point. Many designs use a hinged or sliding cover, allowing the plug to fit inside without damaging the cable. Locking holes accept one or more padlocks, so each authorized worker can maintain personal control. A cable opening must be narrow enough to prevent plug removal, yet smooth enough to avoid cutting insulation.

Some models include warning labels or spaces for identification. These details matter when several machines are being serviced in the same room. Durable polymer or reinforced material can resist impact, oil, and ordinary workshop wear. Still, material strength is not everything. A poorly sized device may leave gaps or place pressure on the cord. That mistake is easy to overlook.

To use the lockout, the worker disconnects the plug, places it inside the enclosure, and secures the cover with a lock. The equipment should then be tested using an approved procedure. Fit must be checked every time. Plugs differ in shape, cable thickness, and connector design, so one device cannot safely fit every application.

What Is an Electrical Plug Lockout and How Does It Work?

A plug lockout is a protective enclosure that prevents an electrical plug from being inserted into a power source during maintenance. Its main components work together to isolate the plug, secure the enclosure with a padlock, and communicate the hazard.

The chart shows the typical presence of one representative feature in a standard plug lockout design. Actual construction varies by plug size, enclosure type, and safety requirements. A lockout should be applied only after the circuit has been de-energized and verified.

How to Install and Apply an Electrical Plug Lockout

What Is an Electrical Plug Lockout and How Does It Work?

Installing an electrical plug lockout begins with identifying the correct plug and matching device size. Turn off the equipment using its normal control, then disconnect the plug from the socket. Never rely on the switch alone. Inspect the plug, cord, and lockout body for cracks, exposed wires, or poor fit. A damaged component needs attention before isolation continues.

Place the disconnected plug inside the lockout enclosure. Guide the cord through the opening without forcing it or bending it sharply. Close the cover and attach a personal lock and warning tag. The plug should remain fully trapped and impossible to reconnect. A qualified person should verify zero energy with an approved tester, following site procedures. Test the equipment controls afterward, then return them to the off position. In practice, people sometimes skip this second check because the plug looks safely contained. That shortcut deserves correction.

Tips: Choose a lockout that fits the plug dimensions and cord diameter. Keep the key under the control of the person performing the work. Mark the isolated equipment clearly, especially in crowded maintenance areas. Do not use a plug lockout as a substitute for checking stored or secondary energy. Review the installation with affected workers. Small details matter. Recheck the fit after vibration, movement, or outdoor exposure, since a loose cover can weaken the protection.

Safety Checks and Removal Procedures

What Is an Electrical Plug Lockout and How Does It Work?

Safety Checks and Removal Procedures

An electrical plug lockout covers a disconnected plug and prevents reconnection. It normally accepts a safety lock and warning label. Before installation, identify the correct equipment and every energy source. Check whether another circuit, battery, or backup supply can energize the equipment. Switch off the equipment using its normal control. Then disconnect the plug fully from the outlet. Do not rely on a wall switch alone.

Test the equipment with a properly rated voltage tester. Confirm the tester works before and after testing. This small detail is easy to overlook. A dark display does not prove zero energy. Inspect the plug, cord, lockout device, and outlet for cracks, heat damage, or moisture. If anything looks questionable, stop and report it to a qualified person. Attach the lock and label firmly, then keep the key under controlled access. The lockout should fit securely without stressing the plug or cord.

Removal requires equal care. The person who applied the lock should remove it whenever possible. Check the work area for tools, loose parts, and exposed conductors. Confirm that guards are replaced and everyone is clear of moving equipment. Remove the device and reconnect power only after authorization. Watch for unexpected startup. A rushed removal can undo a careful isolation. Procedures may need adjustment after a near miss, especially when equipment has multiple power sources or unclear labeling.

FAQS

What is an electrical plug lockout?

It is a physical enclosure for a disconnected plug. The enclosure prevents reconnection to a power outlet. It usually accepts a lock and warning label. It is only a barrier, not proof of complete safety.

How does a plug lockout work?

Disconnect the plug completely from the outlet. Place the plug inside the lockout enclosure. Secure the enclosure with an approved lock. The trapped plug cannot be reconnected without removal.

Is switching off the wall switch enough?

No. A wall switch may not isolate every energy source. Unplug the equipment before applying the lockout. Also check batteries, backup supplies, and separate circuits.

How can workers confirm that power is off?

Use a properly rated voltage tester. Test the tester before checking the equipment. Test the equipment, then check the tester again. A dark display alone proves very little.

What should workers inspect before installation?

Check the plug, cord, outlet, and lockout device. Look for cracks, heat damage, moisture, or loose parts. Confirm that the enclosure fits without stressing the cord. Stop when something looks questionable.

Who should apply the lockout?

A qualified worker should control the isolation process. That person identifies the equipment and every energy source. The key should remain under controlled access. Small assumptions can create serious gaps.

Does a plug lockout make equipment safe to touch?

Not by itself. It supports a broader energy-control procedure. Workers should isolate, lock, test, and verify before servicing. Unexpected stored energy may still remain.

What is the correct removal procedure?

The person who applied the lock should remove it when possible. Check for tools, loose parts, exposed conductors, and missing guards. Confirm that everyone is clear before restoring power. Expect possible startup.

What should happen after a near miss?

Pause and review the procedure. Check for unclear labels or hidden power sources. A repeated method is not always a reliable method. Improve the process before work continues.

Conclusion

An Electrical Plug Lockout is a safety device designed to prevent an electrical plug from being connected to a power source during maintenance, repair, or inspection. It encloses or secures the plug so that it cannot be inserted into an outlet, helping control hazardous energy and preventing unexpected equipment startup. The device commonly includes a durable lockout enclosure, a locking mechanism, and space for an authorized padlock or identification tag.

To apply an Electrical Plug Lockout, first shut down the equipment, disconnect the plug, and verify that no electrical energy remains. Place the plug inside the lockout device, secure the enclosure, and attach the assigned lock and warning tag. Before work begins, inspect the device for damage and confirm that the plug cannot be accessed or reconnected. After the task is complete, check that all tools and personnel are clear, remove the lock and tag according to the established procedure, and restore power carefully. Proper installation, inspection, communication, and removal are essential for maintaining a safe work environment.