
Contaminant Comparison Chart

For a complete list of contaminants that PUR filters reduce, please view our Performance Data Sheets here.


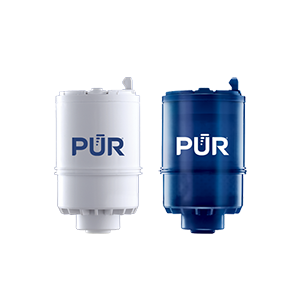
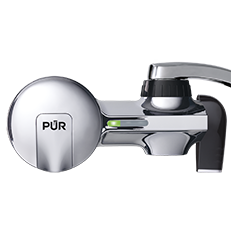
PUR & PUR PLUS FAUCET FILTERS
RF3375/RF9999

View Filters

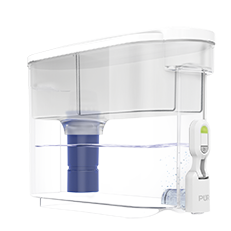
PUR PLUS PITCHER FILTERS
PPF951K

View Filter

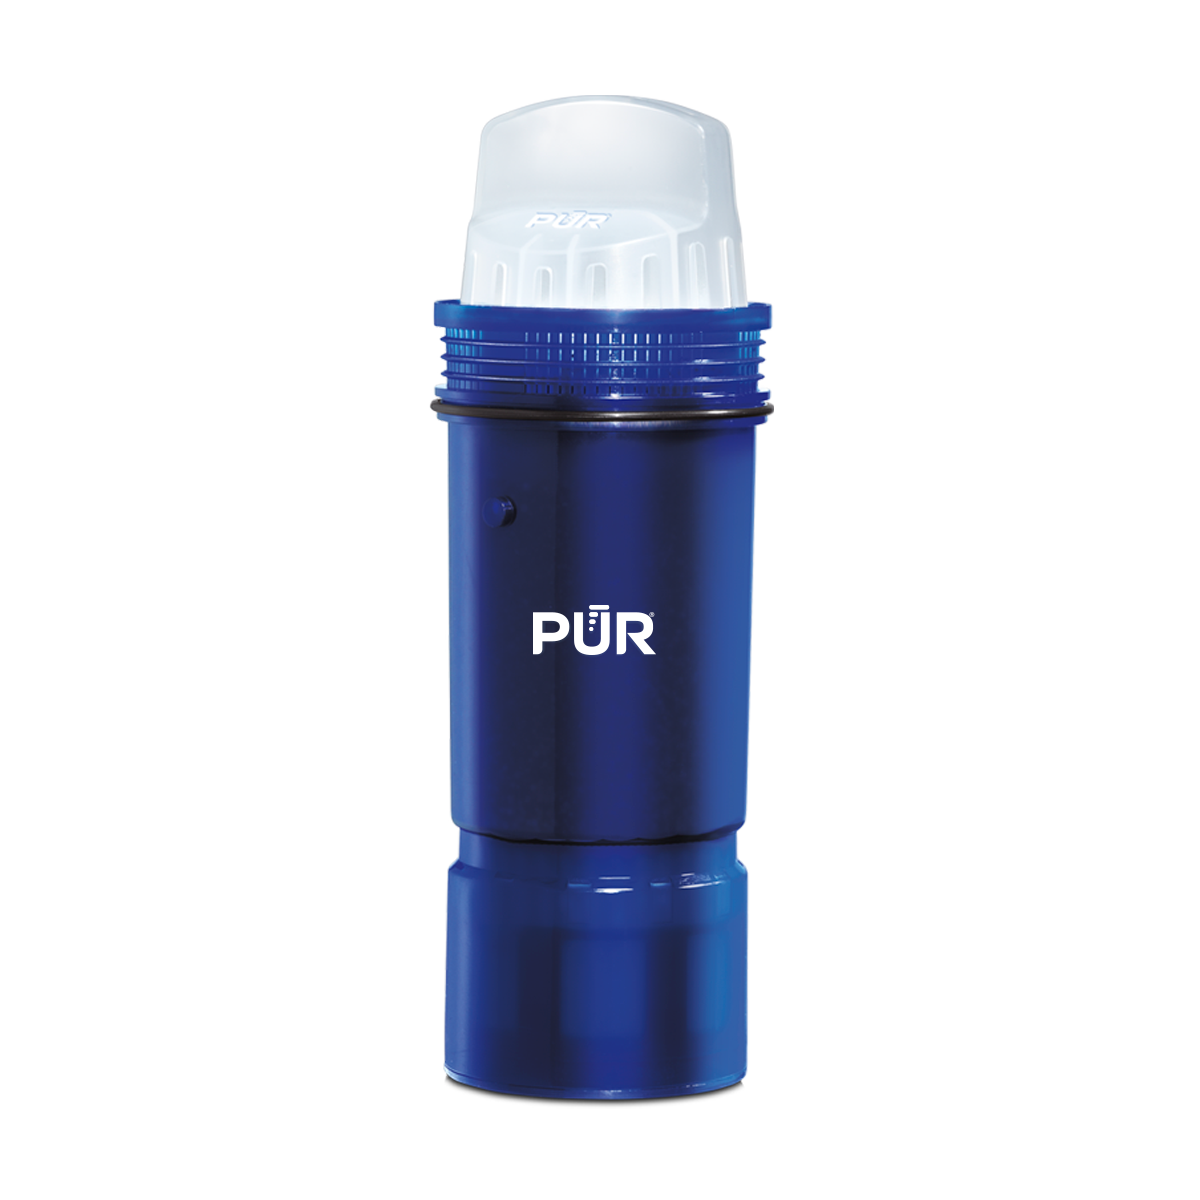
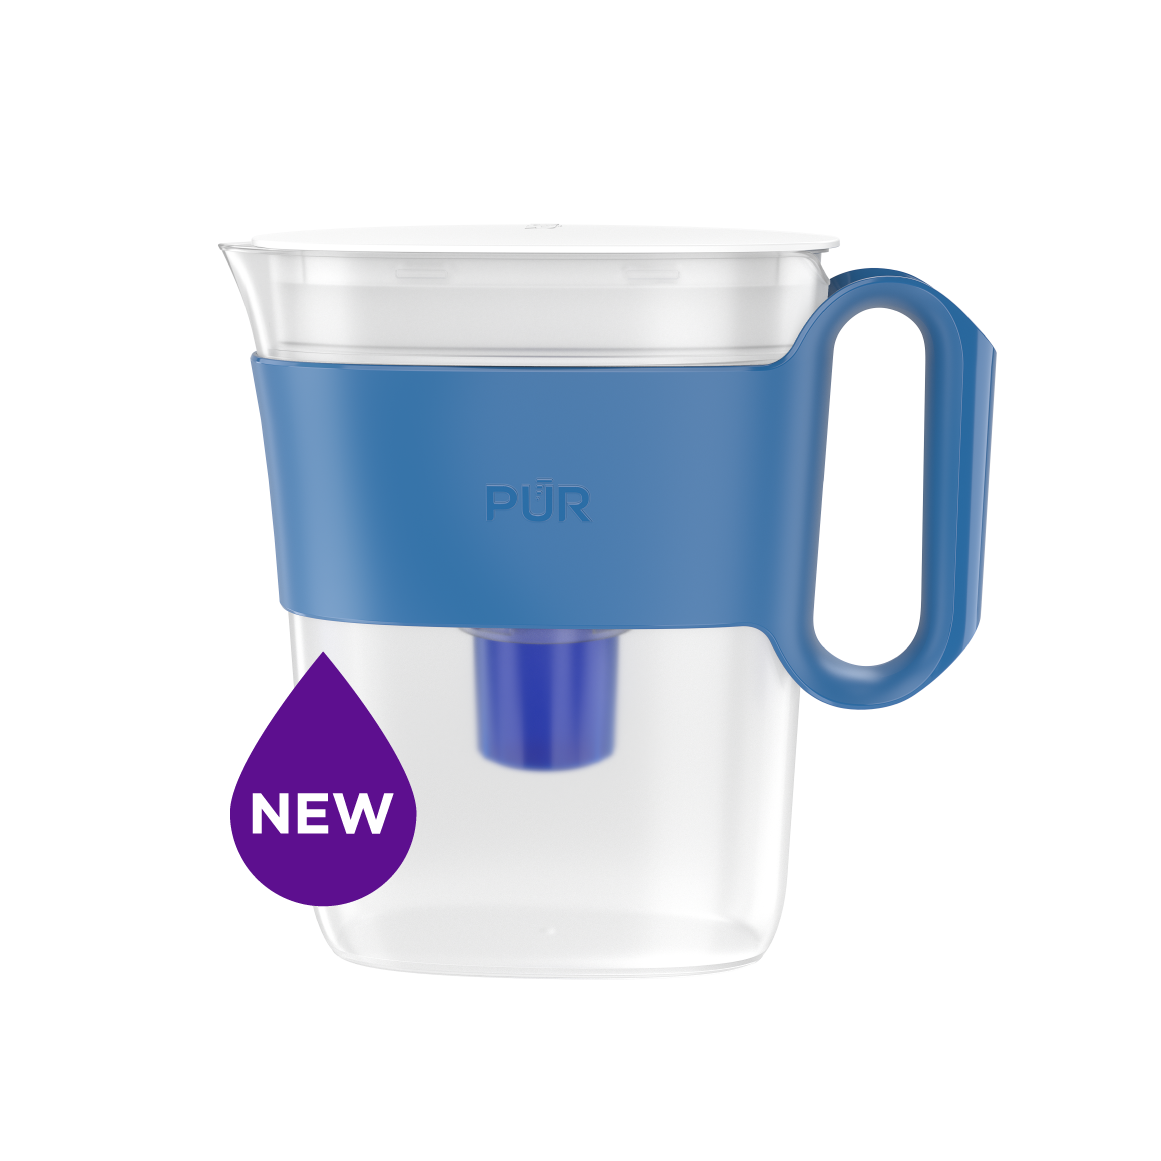
PUR BASIC PITCHER FILTERS
PPF900Z

View Filter


Vs. Brita*

Lead ✓ ✓
Microplastics ✓ ✓
Mercury ✓ ✓ ✓
Chlorine Taste & Odor ✓ ✓ ✓
DEET ✓
TTHM ✓

PUR’s Filtration Systems Are Certified By NSF And WQA For Their Contamination Reduction. WQA certifications as of 5/27/21 for Faucet filter models RF-3375 and RF-9999.

¹ Certified to reduce 10X more chemical and physical substances than Brita’s® leading pitcher filter.
² Certified to reduce 3X more chemical and physical substances than Brita’s® leading pitcher filter.
³ Certified to reduce 2X more chemical and physical substances than Brita’s® leading pitcher filter.
*Versus best-selling Brita® pitcher filter OB03. Brita® is a trademark of Brita LP.
**Like other leading brands, PUR does not filter microbes. As of 3/1/23 Brita® and ZeroWater® were not certified to filter microbes. Brita® is a trademark of Brita LP. ZeroWater® is a trademark of Zero Technologies, LLC..
 

PUR & PUR PLUS FAUCET FILTERS


PUR & PUR PLUS FAUCET FILTERS
RF3375/RF9999

View Filters


Vs. Brita*

Lead ✓
Microplastics ✓
Mercury ✓
Chlorine Taste & Odor ✓
DEET ✓
TTHM ✓

PUR’s Filtration Systems Are Certified By NSF And WQA For Their Contamination Reduction. WQA certifications as of 5/27/21 for Faucet filter models RF-3375 and RF-9999.

¹ Certified to reduce 10X more chemical and physical substances than Brita’s® leading pitcher filter.
² Certified to reduce 3X more chemical and physical substances than Brita’s® leading pitcher filter.
³ Certified to reduce 2X more chemical and physical substances than Brita’s® leading pitcher filter.
*Versus best-selling Brita® pitcher filter OB03. Brita® is a trademark of Brita LP.
**Like other leading brands, PUR does not filter microbes. As of 3/1/23 Brita® and ZeroWater® were not certified to filter microbes. Brita® is a trademark of Brita LP. ZeroWater® is a trademark of Zero Technologies, LLC..


PUR PLUS PITCHER FILTERS


PUR PLUS PITCHER FILTERS
PPF951K

View Filter


Vs. Brita*

Lead ✓
Microplastics ✓
Mercury ✓
Chlorine Taste & Odor ✓
DEET
TTHM

PUR’s Filtration Systems Are Certified By NSF And WQA For Their Contamination Reduction. WQA certifications as of 5/27/21 for Faucet filter models RF-3375 and RF-9999.

¹ Certified to reduce 10X more chemical and physical substances than Brita’s® leading pitcher filter.
² Certified to reduce 3X more chemical and physical substances than Brita’s® leading pitcher filter.
³ Certified to reduce 2X more chemical and physical substances than Brita’s® leading pitcher filter.
*Versus best-selling Brita® pitcher filter OB03. Brita® is a trademark of Brita LP.
**Like other leading brands, PUR does not filter microbes. As of 3/1/23 Brita® and ZeroWater® were not certified to filter microbes. Brita® is a trademark of Brita LP. ZeroWater® is a trademark of Zero Technologies, LLC..


PUR BASIC PITCHER FILTERS


PUR BASIC PITCHER FILTERS
PPF900Z

View Filter


Vs. Brita*

Lead
Microplastics
Mercury ✓
Chlorine Taste & Odor ✓
DEET
TTHM

PUR’s Filtration Systems Are Certified By NSF And WQA For Their Contamination Reduction. WQA certifications as of 5/27/21 for Faucet filter models RF-3375 and RF-9999.

¹ Certified to reduce 10X more chemical and physical substances than Brita’s® leading pitcher filter.
² Certified to reduce 3X more chemical and physical substances than Brita’s® leading pitcher filter.
³ Certified to reduce 2X more chemical and physical substances than Brita’s® leading pitcher filter.
*Versus best-selling Brita® pitcher filter OB03. Brita® is a trademark of Brita LP.
**Like other leading brands, PUR does not filter microbes. As of 3/1/23 Brita® and ZeroWater® were not certified to filter microbes. Brita® is a trademark of Brita LP. ZeroWater® is a trademark of Zero Technologies, LLC..


7 Tips for Choosing the Right Hinged Shower Door?

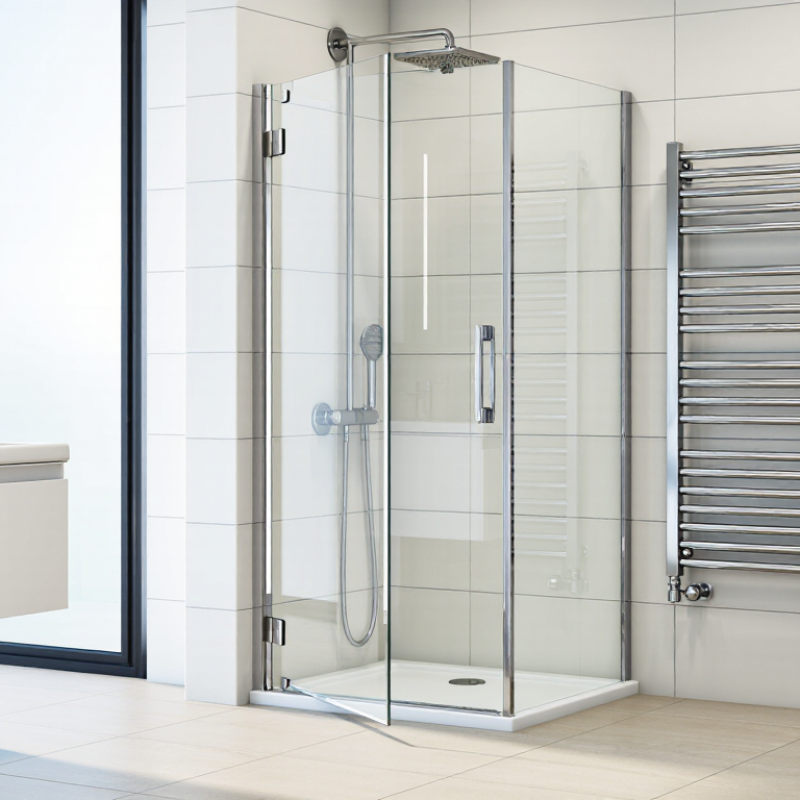
Choosing the right Hinged Shower Door is not only a style decision. It affects safety, daily comfort, cleaning effort, and the visual balance of your bathroom. A clear glass panel may make a compact room feel larger, but its swing path can collide with a vanity, towel rail, or toilet. Small details matter.

Experienced contractor Mike Holmes often repeats, “Make it right the first time.” That advice suits shower-door selection perfectly. Accurate measurements should come before browsing finishes or handles. Check the opening width, wall alignment, curb position, and available clearance. Tempered safety glass, dependable hinges, strong seals, and corrosion-resistant hardware also deserve careful attention. Cheap components may look acceptable in a showroom, yet fail under constant moisture and movement.

This guide presents seven practical tips for choosing a Hinged Shower Door that fits your room and routine. It considers door size, opening direction, glass options, frame design, installation requirements, accessibility, and long-term maintenance. Some choices seem obvious. They are not always.

A polished handle cannot fix a badly planned swing. A frameless design cannot hide uneven walls. Even careful homeowners sometimes measure only once. That is an avoidable mistake. By comparing function with appearance, you can create a shower enclosure that feels stable, comfortable, and easy to maintain. The best choice may not be the most expensive one. It should be the one that works reliably every morning.

7 Tips for Choosing the Right Hinged Shower Door?

Understanding Hinged Shower Door Styles and Opening Options

Hinged shower doors offer a clean, controlled opening, but their style must match the bathroom’s space. Frameless doors create a lighter visual effect, while framed models usually provide stronger edge support and clearer sealing. An inline door suits a straight shower wall. A return panel works better for corner installations. Measure the enclosure carefully, including tile thickness and wall plumb.

Opening direction matters most. An outswing door needs clear floor space and should never strike a vanity, toilet, or towel rail. A reversible hinge can help, but only when the wall structure supports it. Some doors swing both ways, although a poorly adjusted hinge may drift or scrape. I have seen attractive installations fail because the swing was chosen before measuring the room.

Houzz’s 2024 U.S. Bathroom Trends Study reports that more than four in five renovating homeowners upgraded their showers. That demand makes practical door planning increasingly important. The National Kitchen & Bath Association’s 2024 design research also highlights aging-in-place and universal-design priorities. Consider a wide, easy-grip handle, a low threshold, and unobstructed entry.

Seven checks help: measure the opening, inspect wall alignment, confirm hinge capacity, select the swing, test clearance, review glass thickness, and verify the seal. Glass may look substantial, yet hardware carries the working load. A perfect design on paper can still feel awkward in daily use.

Measuring the Shower Space for a Proper Door Fit

Measuring the Shower Space for a Proper Door Fit

Tip 1: Measure after wall finishes, not before. Tile, backer board, and trim can reduce the opening noticeably. Measure width at the top, middle, and bottom. Record the smallest measurement.

Tip 2: Check the walls for plumb. A hinged door needs stable, reasonably straight surfaces. Use a long level and note any gaps. I once trusted a single measurement and missed a slight taper. That small error mattered.

Tip 3: Measure the finished height from the threshold to the intended top edge. Keep the measurement consistent on both sides. According to the 2024 U.S. Houzz Bathroom Trends Study, shower upgrades remain a major remodeling priority, making accurate planning increasingly important.

Tip 4: Confirm the threshold is level. Water can escape through a tiny slope or uneven joint.

Tip 5: Mark the door swing with painter’s tape. Check nearby toilets, vanities, and towel bars. Leave enough clearance for comfortable entry.

Tip 6: Measure the hinge-side support area. Hinged doors require solid framing or suitable reinforcement behind the wall.

Tip 7: Share every measurement with the installer, including unusual corners. The National Glass Association recommends safety glazing for shower enclosures, while ANSI Z97.1 covers impact-performance requirements for safety glass. Product tolerances still vary. A final site check is worth the extra time.

Choosing the Right Glass Type, Thickness, and Safety Features

For a hinged shower door, start with safety glazing, not appearance. The U.S. Consumer Product Safety Commission’s 16 CFR Part 1201 and ANSI Z97.1 set impact-testing requirements for safety glazing. Check that the glass carries a permanent mark identifying it as compliant. Tempered glass is common because it breaks into smaller pieces than ordinary annealed glass, though it can still cause injury. No glass is unbreakable.

Thickness affects stiffness and weight. The National Glass Association’s shower-enclosure guidance identifies 3/8-inch and 1/2-inch glass as common choices for frameless enclosures; framed designs may use thinner glass when their system allows it. Match the panel to the hinge and wall support, rather than choosing by heft alone. A heavy door can feel reassuring. It also loads its hinges more. Look for polished, chip-free edges, secure hinge fixings, and a door stop that prevents the handle striking nearby glass or tile. Keep clearances consistent. Installation details are easy to overlook, and I would recheck them after the door is hung.

Comparing Frame Materials, Hardware, and Installation Requirements

7 Tips for Choosing the Right Hinged Shower Door

Tip 1: Match the frame material to bathroom conditions. Anodized aluminum resists moisture and needs little maintenance. Stainless steel offers greater rigidity, but fingerprints show quickly. Tip 2: Check the glass specification, not only its appearance. The U.S. Consumer Product Safety Commission requires safety glazing under 16 CFR Part 1201. Tempered glass should also carry permanent safety markings. Tip 3: Select hardware by weight and frequency of use. Hinges, handles, and wall anchors must support the door together. A heavy glass panel can expose weak tile substrates.

Tip 4: Measure the opening at several heights. Walls are rarely perfectly square. Tip 5: Confirm the swing path before ordering. The door should clear toilets, vanities, and nearby towel bars. Tip 6: Review water-management details. A bottom sweep, threshold, and correctly sloped curb reduce splash, though none guarantees a dry floor. The 2024 U.S. Houzz Bathroom Trends Study reported that shower upgrades remain among the most common bathroom improvements, but design popularity does not replace site evaluation. Tip 7: Ask for installation requirements in writing. Tile type, stud locations, waterproofing, and drilling limits affect labor and hardware choices.

Professional installers often find that the smallest measurement error causes the largest delay. I once underestimated uneven grout lines; the door needed adjustment. That mistake was avoidable. A pre-installation check by a qualified installer is usually more reliable than a showroom estimate. Sources: U.S. CPSC, 16 CFR Part 1201; 2024 U.S. Houzz Bathroom Trends Study.

7 Tips for Choosing the Right Hinged Shower Door: Frame Materials, Hardware, and Installation Requirements

Tip What to Compare Practical Guidance Check Before Buying or Installing
1 Choose the frame style Framed doors use metal around more of the glass perimeter and can help contain water. Frameless designs use less visible framing and rely more on thicker glass and stronger hardware. Semi-frameless designs fall between these options. Compare the complete door assembly, including seals and hinges. A less-framed appearance does not remove the need for proper water control or careful installation.
2 Compare frame materials and finishes Aluminum is commonly used for shower-door framing because it is lightweight and does not rust like ordinary steel. Protective finishes can affect its appearance and resistance to wear. Stainless-steel components are also common, but their corrosion resistance varies by grade and environment. Ask what the frame and hardware are made of, how they are finished, and which cleaning products are suitable. Avoid abrasive cleaners that may damage coatings.
3 Check the glass specification Shower doors commonly use tempered safety glass. Available thickness depends on the door design and manufacturer; thicker glass is often used in frameless systems to support the design and hardware requirements. Confirm the glass type, thickness, finished dimensions, and applicable local safety-glazing requirements. Do not assume that one thickness suits every opening or hinge system.
4 Evaluate hinges and other hardware Hinges must be rated for the door’s size and weight and compatible with its glass and frame. Hardware may be made from stainless steel, brass, or other materials, with different finishes and maintenance needs. Check the specified load capacity, mounting method, finish warranty, and replacement-part availability. Confirm whether the hinges attach to a wall, a fixed glass panel, or both.
5 Measure swing and clearance A hinged door needs unobstructed space along its swing path. Some designs swing outward only; others are designed to swing both inward and outward. The permitted swing depends on the product and local requirements. Measure the bathroom layout, nearby fixtures, towel bars, and doorways. Verify the required opening direction and clearances in the installation instructions before ordering.
6 Assess the opening and wall support Walls and shower thresholds should be sufficiently plumb and level for the door system. Hinges mounted to a wall need secure support; appropriate blocking may be needed behind the finished wall, especially for heavy glass doors. Measure the opening at several heights and check for out-of-square conditions. Locate framing or blocking before drilling, and follow the door system’s limits for adjustment.
7 Plan for sealing and maintenance Door sweeps, gaskets, and seals help limit splashing but do not make every shower enclosure completely watertight. Regular cleaning and inspection can help preserve finishes and keep seals functioning. Check which seals are included, how they are replaced, and whether the threshold and enclosure layout suit your shower. Follow the installation and care instructions for sealant, cleaning, and hardware adjustment.

Evaluating Maintenance Needs, Durability, and Overall Cost

A hinged shower door should fit your cleaning habits, not just your bathroom’s style. Tip 1: Check how easily you can reach both sides of the glass and the hinges. A narrow gap beside a vanity can make wiping the lower hinge awkward. Small details matter. Look for smooth edges and accessible seals, since trapped soap and moisture need regular attention. Even easy-clean glass still needs care.

Tip 2: Compare the glass thickness, hinge construction, and installation requirements. A door that swings freely needs enough clearance from toilets, towel bars, and nearby walls. Measure twice. Durable materials can reduce repair worries, but poor alignment may strain hinges over time. A professional installer can check wall support and plumb surfaces; uneven walls sometimes complicate an otherwise straightforward fit.

Tip 3: Estimate the full cost, not only the door’s purchase price. Include installation, hardware, replacement seals, and any needed wall adjustments. A cheaper option may cost more if its parts are difficult to replace. Yet the most expensive door is not automatically the best value. Compare warranties and ask what routine maintenance involves. The answer may vary with water hardness and daily use.

7 Tips for Choosing the Right Hinged Shower Door

Compare maintenance needs, durability, and overall cost

Glass thickness options: 6 mm, 8 mm, and 10 mm are commonly available for shower doors; availability varies by product and market. Thicker glass is heavier, so confirm that the hinges and supporting structure are designed for the chosen door. Thickness alone does not determine durability or maintenance needs—also check the hardware, seals, cleaning guidance, installation requirements, and total installed cost.